How To Make Beeswax Candles
How To Make Beeswax Candles

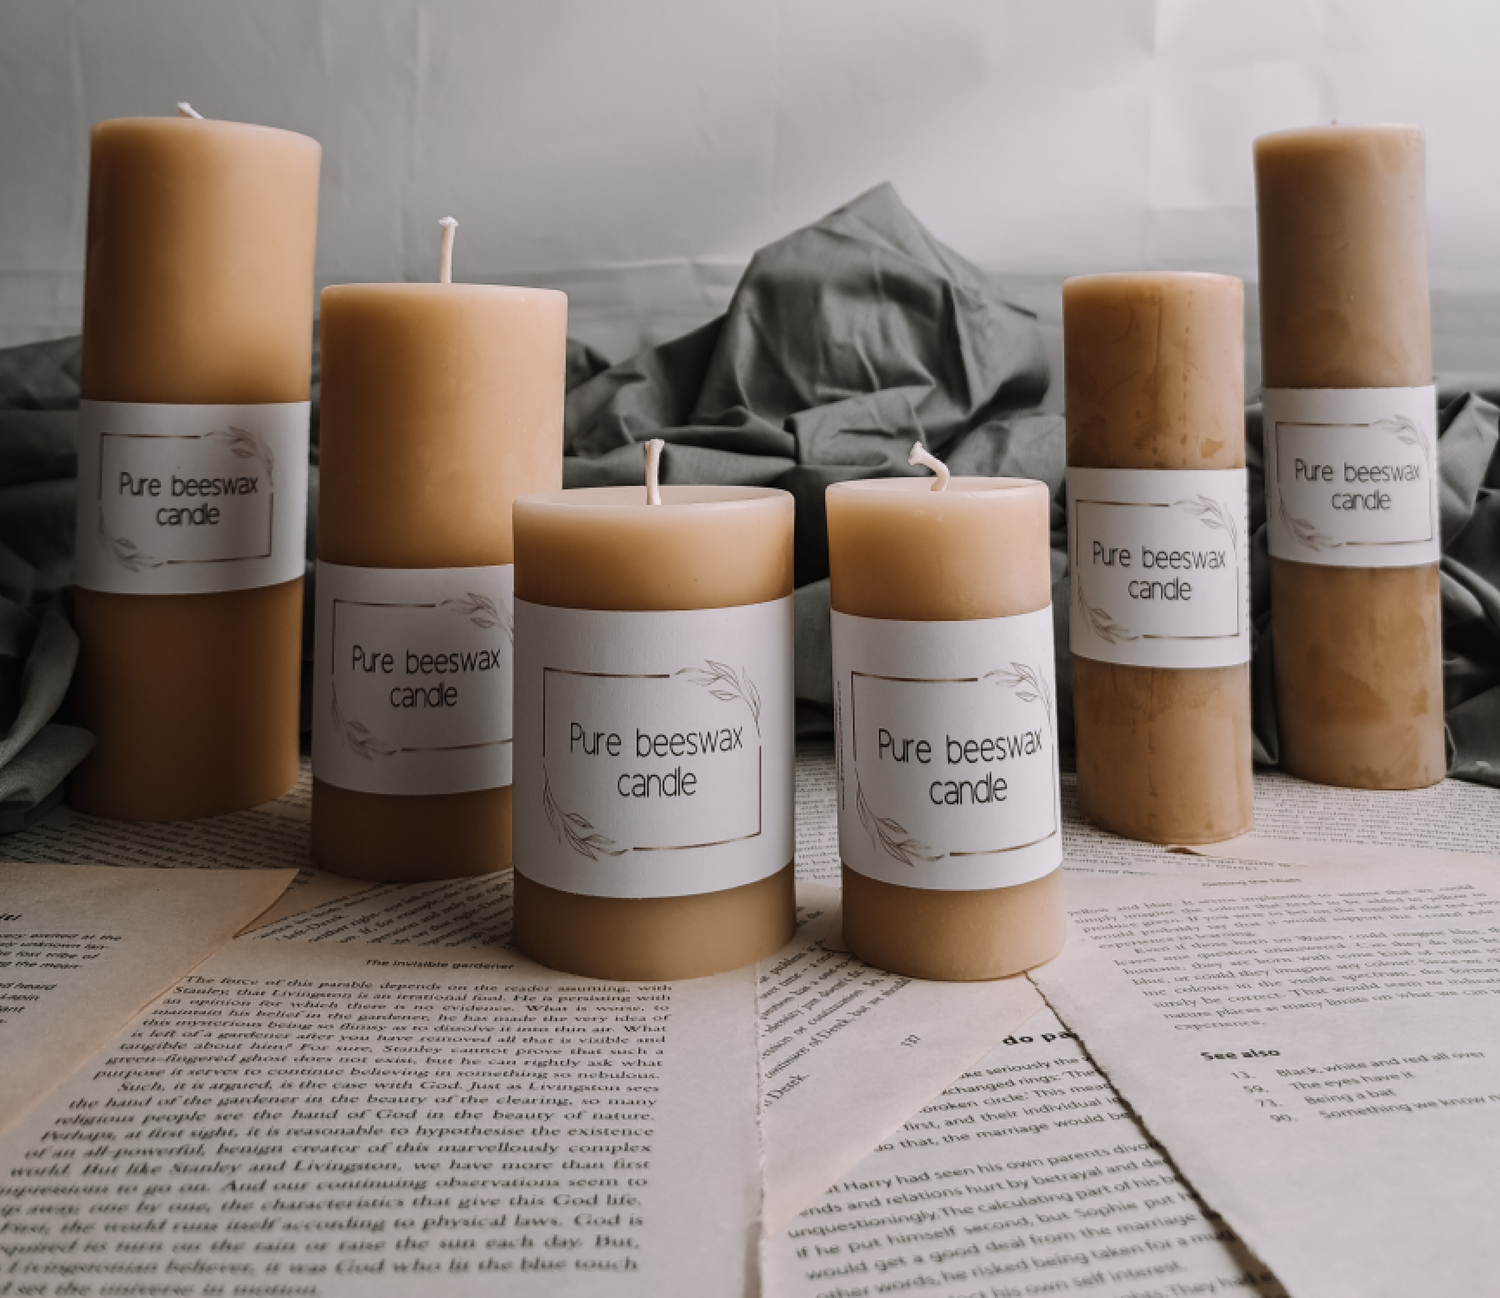
There is nothing like a burning candle in the winter months to cozy up a home. Learn how to make the easiest DIY beeswax candles with this photo tutorial, as well as simple written instructions.
For this tutorial you’ll need pure beeswax, heat resistant jar / tin, cotton wick, wick stickers (as a wick stickers you can use balloons stickers or glue gun) and Pyrex jug.

-
Pick up your wick (with wick tab attached) and wick stickers, Attach the wick to the bottom center of the jar / tin. If you don't have a wick stickers you can use a hot glue gun - secure a wick at the bottom of the mason jar with a little glue.


-
Melt wax in a microwave or double boiler. Use heat resistant jug like a Pyrex and place it with wax in microwave. If you don’t have a double boiler, you can create one by placing one inch of water in a pot, placing a smaller pot or stainless steel bowl inside, and bringing the water to a low simmer.

-
Pour wax into jar / tin.

-
Set the wick so that it’s in the center. You can do this by placing a pencil across the jar and taping the wick to it, or use my favorite method, which is to thread the wick through the center of a clothespin, bobby pin or bamboo skewer. This will keep the wick centered while the wax hardens.

-
Once the wax is completely hardened, you can trim the wick, and it is ready to light. It should be about 1/2 inch long.

*Get creative and use old coffee mugs, little cute vintage containers or large shell as your base. Anything that is heat resistant can make a cute candle holder.
**With our method you can do any type of candle: soy candles, paraffin candles etc.
CANDLE TIPS:
Reuse the leftover wax from your old candles.
Leftover candles always melt in double boiler.
